How to Use ChatGPT's '80s Flashback: Turn Your Photo Into a Retro 1980s Picture
You don't need Photoshop to get an 80s-style retro photo anymore. Just upload a picture to ChatGPT. This guide walks beginners through finding '80s flashback, writing prompts, requesting edits, and what to watch out for.
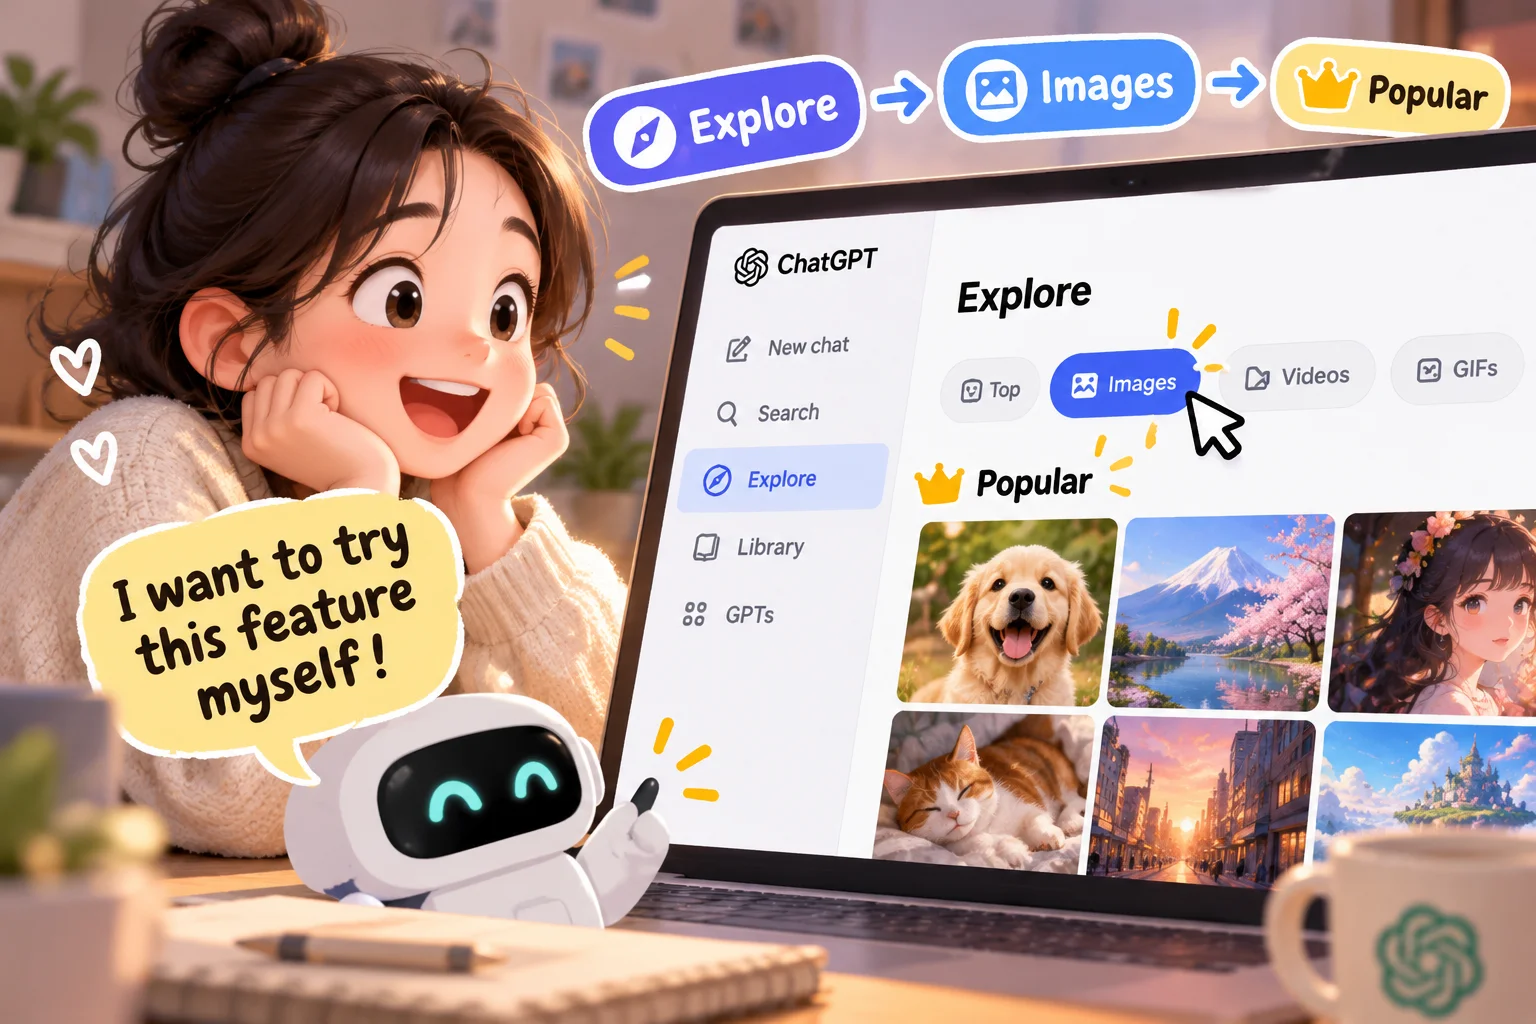
[ This image was created using generative AI ]
Why Everyone Is Turning Their Photos Into 80s Retro Pictures
You've probably seen it on social media: an ordinary, modern photo transformed so it looks like it was shot on film in the 1980s. Voluminous hairstyles, slightly faded colors, backgrounds that look like a mall or a photo studio from decades ago.
In the past, getting that look meant compositing backgrounds and manually correcting colors in Photoshop. Now, you can get a similar result just by uploading a photo to ChatGPT's image feature and describing the mood you want in a sentence.
That said, if you're trying this for the first time, it's easy to get stuck on basic questions: Where do I upload the photo? What exactly do I type? Where is this "80s flashback" thing supposed to be? This guide breaks the whole process down step by step so you can actually follow along. Note that the screens and menus described here were checked directly as of September 12, 2026. Since ChatGPT's features and interface change frequently, the display may differ depending on your account or app version.
1. What Exactly Is ChatGPT's 80s Flashback
Let's clear up a common misunderstanding first. 80s flashback is not a new, independent AI model or a separate program that OpenAI announced. It's one of the style suggestions offered inside ChatGPT's image generation feature, ChatGPT Images.
If you open ChatGPT's image starting screen, you'll see a line that reads something like "Imagine something, or pick from these styles," followed by cards such as 80s flashback, Chuseok card, Make a caricature, Animation, and Underwater, all shown side by side. In other words, 80s flashback is one of these suggested style cards — essentially a way for ChatGPT to surface a photo trend that went viral on social media so people can try it with one click.
Selecting the card doesn't take you to a separate page. Instead, it automatically fills the chat box with a message like "Help me try the '80s flashback' style with my photo," and ChatGPT then asks you to upload a picture. What runs behind the scenes is the same image generation and editing feature you'd use for any other ChatGPT Images request.
It's also worth noting how this differs from a typical photo filter app. A filter app applies a fixed color-correction preset over the whole photo. ChatGPT, on the other hand, interprets the person and background in your photo and regenerates elements like hairstyle, clothing, background, and lighting. That's why results vary from person to person and from prompt to prompt, and why you can keep refining the result through conversation.
You don't need to install any separate app. All you need is a web browser at chatgpt.com or the ChatGPT app on your phone.
2. What Kind of Photo Should You Prepare
The quality of your original photo affects the result. Here are a few things worth keeping in mind when choosing a photo.
Pick a photo where the face is clearly visible. Backlit or blurry photos make it harder for the AI to recognize facial features accurately. Very dark photos can also cause details to get lost.
Photos with fewer objects covering the face — masks, large sunglasses, hands — tend to preserve the original look better. A front-facing photo or a natural three-quarter angle works well, and it's best to avoid very small, low-resolution images since fine details may come out blurry.
That said, none of these are strict requirements, nor are they official conditions set by OpenAI. Think of them as practical tips based on real usage that can help improve the quality of your result.
3. How to Upload a Photo in ChatGPT
The basic flow is similar on PC and mobile. Here's the process based on the ChatGPT Images interface as of September 2026.
Go to chatgpt.com in your browser, or open the ChatGPT app on your phone.
Open the Images menu from the sidebar, or simply ask in the chat to create an image.
Tap the attachment icon at the bottom of the chat box to upload your photo.
Describe the 80s style you want, or select the 80s flashback card.
Send the message and ChatGPT will generate the image. More complex requests may take a bit longer, and you can keep chatting while the image is being created.
Check the generated image.
If there's something you'd like changed, ask for a follow-up edit in the same conversation.
Generated images are automatically saved to your image library, so you can reopen and keep editing them later.
4. How to Use 80s Flashback, Step by Step
The easiest way is to select the 80s flashback card directly from ChatGPT's image starting screen.
Start by opening the Images menu from the ChatGPT sidebar. Among the suggested styles shown on screen, find and select 80s flashback. This automatically fills the chat box with a request to create an 80s-style image. ChatGPT will then ask you to upload a photo — go ahead and upload the one you prepared.
Once you upload the photo, ChatGPT begins generating the image right away. During this process, elements like hairstyle, clothing, background, color grading, and lighting are redrawn in an 80s style. The pose and composition of your original photo are used as a reference to some extent, but they aren't copied exactly.
Once you get a result, you can select the image to save it, or keep the conversation going with follow-up requests like "just change this part." Once you've uploaded your photo, you don't need to memorize any complicated commands. Just describe what you want, the way you'd talk to a person.
5. If You Can't Find the Menu: Writing Your Own Prompt
Depending on your account, region, or app version, the 80s flashback card might not appear on your screen right away. In that case, you can get the same result by uploading your photo and typing a request directly, like the examples below.
Here's a prompt for a basic 80s-style portrait.
Keep the facial features and overall impression of the person in the attached photo as close to the original as possible, and turn it into a portrait shot on film in the mid-1980s. Apply an 80s hairstyle and outfit, natural film grain, slightly faded colors, and the feel of an indoor studio from that era. Make sure no modern electronics or props are visible.For an 80s American shopping mall vibe, try this.
Keep the face of the person in the attached photo unchanged, and turn it into a snapshot taken at an American shopping mall in the 1980s. Apply neon store signage, tiled flooring, casual fashion popular at the time, and the look of a flash photo.For a yearbook photo feel, try this prompt.
Keep the facial features of the person in the attached photo, and turn it into a studio portrait that looks like it belongs in an 80s yearbook. Apply a solid-color background, a front-facing or slightly angled pose, a hairstyle and formal or semi-formal outfit popular at the time, and soft studio lighting.For a family photo mood, you can use this prompt.
Keep the faces of the people in the attached photo as close to the original as possible, and turn it into a family snapshot taken in a living room in the 1980s. Apply warm indoor lighting, a sofa or curtains with a pattern popular at the time, natural poses, and slightly faded film colors.To bring out a disco vibe, try something like this.
Keep the face of the person in the attached photo, and turn it into an 80s disco party scene. Add shiny or brightly colored clothing, disco ball lighting, colorful stage-style lighting effects, and the tone of a flash photo.For a Korean retro photo feel, it helps to be specific, like this.
Keep the face of the person in the attached photo unchanged, and turn it into a portrait that looks like it was taken at a Korean photo studio in the 1980s. Apply hairstyles and outfits popular in Korea at the time, the solid or gradient backdrop typical of photo studios, and the slightly yellowed tone of printed photo paper.For a look inspired by 80s coming-of-age movie posters, try this.
Keep the facial features of the person in the attached photo, and give it the mood of an 80s coming-of-age movie poster. Use backlighting or strongly colored lighting, casual but distinctive clothing, the grain and saturation typical of film photos, and a city or street background behind the subject.Rather than asking the AI to directly copy the style of a specific movie, photographer, or living artist, it's both safer and more effective to describe visual elements instead — era, color, lighting, clothing, and shooting style — the way the examples above do.
6. How to Write Prompts That Keep Your Face Recognizable
Because this process involves the AI regenerating the image rather than simply filtering it, the result may not match your original face exactly. OpenAI's own help documentation notes that the editor's highlighting isn't always precise and that edits can extend beyond the selected area. So it's not accurate to claim your face will be "100% identical" — a more realistic approach is to specify exactly what you want preserved in your prompt and get as close as possible.
The following phrasing can help.
Keep the person's facial features, the shape of their eyes, nose, and mouth, and their overall impression as close to the original photo as possible. Only change the hairstyle, clothing, and background to an 80s style.Keep the face shape and expression exactly as they are in the original photo, and only change the background to an 80s studio atmosphere.Keep the pose and composition of the original photo unchanged, and only change the clothing and hairstyle to an 80s style.7. How to Fix a Result You're Not Happy With
You don't need a perfect result on the first try. Rather than starting over, it's more efficient to keep refining within the same conversation. Being a bit more specific about the mood you want can make a real difference in the result.
Here are some follow-up prompts you can copy and use directly.
Keep the face as is, and just tone down how exaggerated the hair looks.Keep the background the same, and just change the jacket to a denim style.The colors are too intense — tone them down a bit, like an old color film.Keep the 80s feel, but make the photo look a bit more natural overall.Keep the expression the same, and just soften the lighting a bit.Keep the overall mood, and just sharpen the details around the face a little.Reduce some of the props in the background so more attention goes to the person.By narrowing your requests step by step like this, you'll get closer to the result you want much faster than trying to write one perfect prompt from the start.
8. Key Elements That Create an 80s Feel
Keep these elements in mind when writing prompts to describe the mood you want more precisely.
Element | How to create an 80s feel |
|---|---|
Hairstyle | Voluminous hair, teased bangs, or layered styles |
Clothing | Denim jackets, windbreakers, strong-shouldered outfits, bold primary colors |
Accessories | Large earrings, thick-framed or colored sunglasses |
Color grading | Slightly faded film tones, mildly desaturated colors |
Photography style | Flash-lit look, film grain texture |
Background | Shopping malls, photo studios, streets, period-appropriate indoor spaces |
Props | Era-appropriate audio equipment, furniture, decor |
Keep in mind this table summarizes commonly known 80s visual elements in general, and actual trends may have varied by region and culture.
9. Comparing Prompts by Style
Depending on the mood you want, you can combine different phrases in your prompt. Below are some English expressions you can use directly.
Desired mood | Phrases to include in your prompt |
|---|---|
A natural, old-fashioned look | vintage film, faded colors, subtle grain |
A strong 80s look | bold fashion, flash photography, retro accessories |
Yearbook photo | 1980s yearbook portrait, studio backdrop |
Family photo | 1980s family snapshot, warm indoor lighting |
Korean retro | 1980s Korean portrait, period-appropriate clothing and interior |
10. Can You Use It for Free
Based on OpenAI's official pricing page as of September 12, 2026, here's what's currently offered.
The Free plan is available to anyone without a subscription, and it does include image generation. However, it's officially described as offering "limited and slower image generation." That means you can try the 80s flashback style on a free account, but you'll run into limits on generation speed and the number of images you can create per day.
The paid Go plan offers a higher image generation limit than Free. Plus supports more complex and accurate image generation. The top-tier Pro plan is listed as offering unlimited image generation with faster processing.
That said, OpenAI doesn't publish exact daily generation limits, and these can be adjusted based on demand. For the most accurate numbers, check the usage indicators shown directly in the app or on the web. Since pricing and plans can change, treat the plan details in this article as accurate as of the September 12, 2026 check date.
11. Differences Between PC and Smartphone Use
According to OpenAI's official help documentation, ChatGPT Images is available on web, iOS, and Android.
Basic photo uploads, image generation, and follow-up edits through conversation work the same way on PC and mobile. However, turning a hand-drawn sketch into an image is currently only available on the mobile app, and opening a generated image full-screen to leave comments directly is also primarily a mobile feature.
Menu names and locations may look slightly different depending on the platform, so if you can't find the exact wording used in this article, look around the image-related menu or the attachment icon area instead.
12. What to Know Before Uploading a Photo
Since this topic involves uploading personal photos — potentially of yourself or others — this section deserves extra attention.
Using your own photo is the most basic and safest option. If you're using a photo of a family member or friend, it's best to get their consent first. Be especially careful with photos of children or images that reveal a lot of personal information.
Avoid uploading photos that also show sensitive information, such as an ID card, a credit card, a license plate, or mail showing a home address. When you share a generated image on social media, also consider the subject's portrait rights and personal information. It's also best to avoid using photos of celebrities or images taken by someone else without permission.
Regarding data handling, OpenAI's consumer terms state that content from conversations or uploads may, by default, be used to improve model performance, and users can opt out of this in their settings. Since exact data handling practices can be updated over time, it's best to check OpenAI's privacy policy and the data controls section in ChatGPT settings directly for the most accurate and current information.
For teen accounts, a reminder may appear before certain image uploads, encouraging users not to share sensitive personal information. Linked parental accounts can also manage whether a teen is allowed to create or edit images.
13. Frequently Asked Questions
Q. Do I need to install a separate app to use 80s flashback?
No, you don't need to install anything separate. You can use it through a web browser at ChatGPT's website, or through the ChatGPT app on your phone.
Q. Can I create one with just a single photo?
Yes. In general, you can get started with just one uploaded photo. That said, a photo with a clearly visible face tends to produce a more polished result.
Q. Can the face end up looking different from the original photo?
Yes, that can happen. Since the AI generates the image from scratch rather than applying a filter, the result may differ slightly from the original. Asking specifically to preserve facial features can bring the result closer, but it can't be guaranteed to be identical.
Q. What if I can't find 80s flashback in the menu?
The suggested style cards can vary depending on your account, app version, and region. In that case, you can get the same result by typing one of the prompts from this article directly, along with your photo.
Q. Can I specify the exact clothing or hairstyle I want?
Yes. If you describe the specific clothing type or hairstyle you want in your prompt, ChatGPT will try to reflect it. For example, being specific, like asking for "a denim jacket," gets you closer to the result you want.
Q. Can I edit just part of a generated image?
Yes. Within the same conversation, you can ask for partial edits like "just change the background" or "just tweak the hairstyle a bit." You can also use the editor's selection tool to highlight a specific area before requesting a change.
Q. Can I use this on the free version of ChatGPT?
Yes. Image generation is available on free accounts. However, compared to paid plans, generation is slower and usage limits are lower.
Q. Can I make one on my smartphone?
Yes. Both the iOS and Android apps support image generation and editing.
Q. Is it okay to use a photo of my family or child?
You can use one, but it's best to get consent from the person involved or their guardian first. Be especially careful when sharing images online that reveal a child's face or other personal information.
Wrapping Up
Here's the whole process in a nutshell.
Prepare a photo → Upload it to ChatGPT → Select 80s flashback or type your own prompt → Check the result → Request edits as needed → Done
If you're new to this, it's much easier to upload a photo and get a first result, then keep refining it through conversation, rather than trying to write the perfect prompt on your first attempt. Try copying the prompts in this article, then tweak them in your own words to find the 80s mood that works for you.