Turn Your Photo into an Anime Character: A Complete ChatGPT Image Guide for Beginners
Learn how to upload a photo to ChatGPT and turn it into an anime-style character or profile picture, with prompt examples, editing tips, and privacy and copyright notes for beginners.
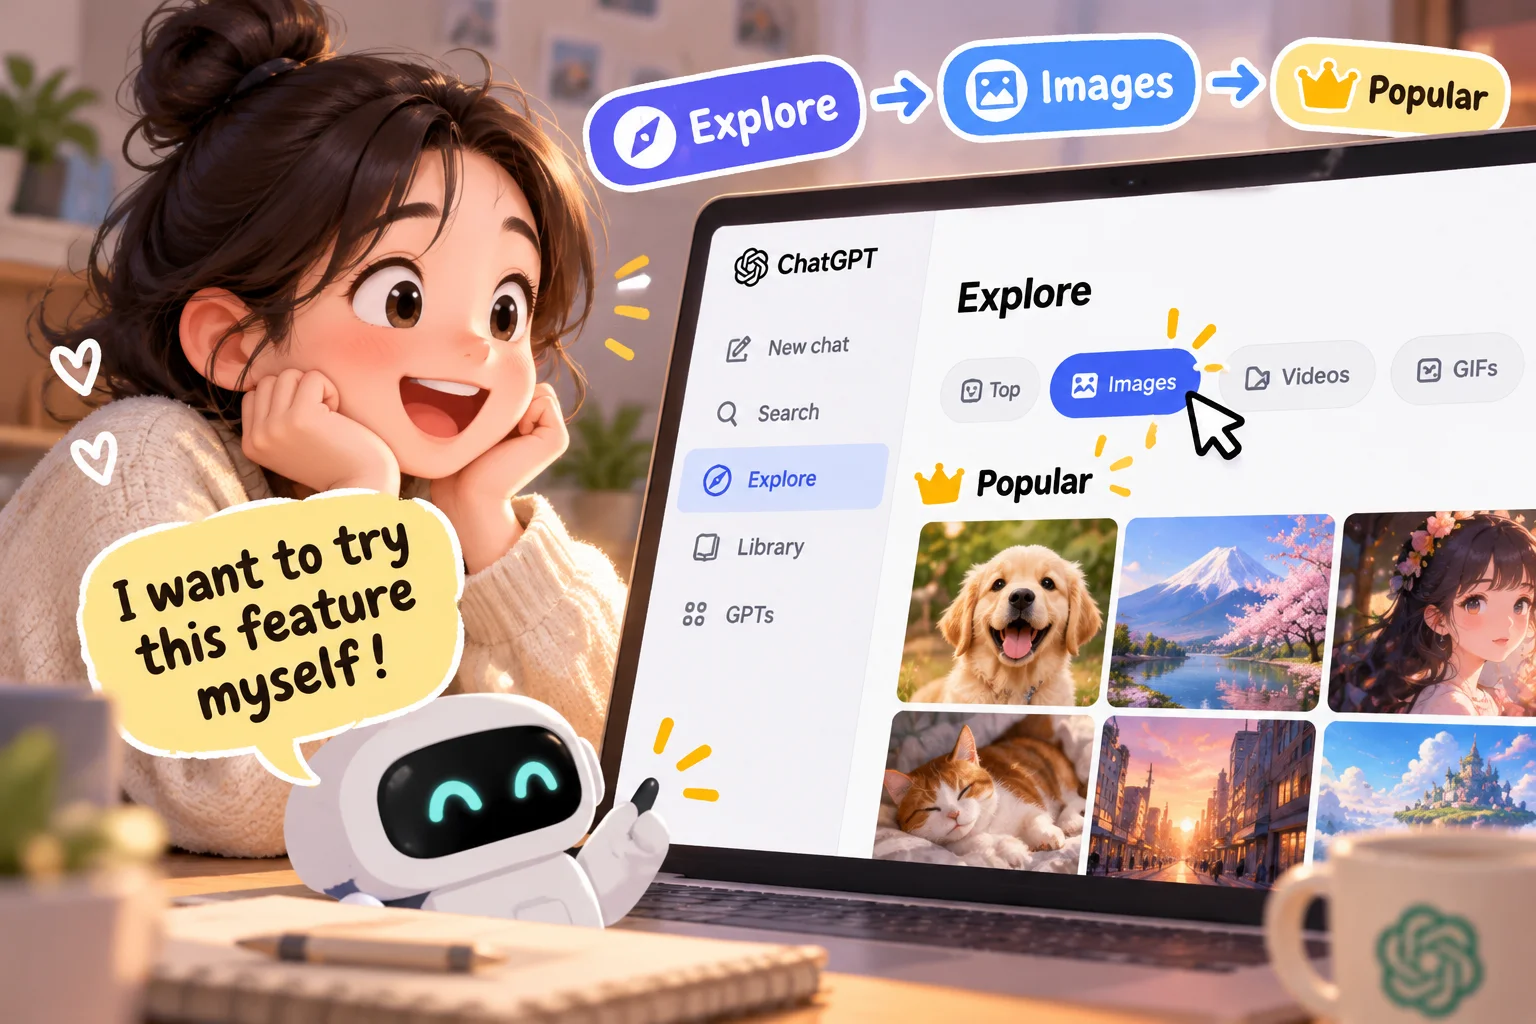
[ This image was created using generative AI ]
Turn Your Photo into an Anime Character: A Complete ChatGPT Image Guide for Beginners
If you have scrolled through social media lately, you have probably seen people turning their own photos into anime-style avatars or illustrated profile pictures. Not long ago, doing this required drawing skills or photo-editing software. Today, you can get a similar result by uploading a single photo to ChatGPT and describing, in plain language, the look you want.
This guide walks you through the whole process, from choosing a good photo to uploading it, writing an effective prompt, and asking for edits, the way a friend would talk you through it while looking at the screen together. One honest caveat up front: uploading a photo does not guarantee a perfect, identical-looking result every time. AI image generation can produce slightly different results even with the same photo and a similar request, so it helps to think of this as an iterative process rather than a one-click transformation.
Why is turning your photo into a ChatGPT character so popular?
The main appeal is accessibility. You do not need to learn dedicated image-editing software; a single photo and a few sentences of description are often enough to try a new visual style. This kind of photo-to-illustration transformation has gone viral online more than once, largely because it requires no special skill to attempt.
That said, this feature is not magic. The final quality depends heavily on the angle, lighting, and resolution of your original photo, and the same prompt will not always produce an identical character. So rather than promising that everyone will always get exactly the look they imagined, this guide focuses on what actually tends to improve your results.
What is ChatGPT's image feature, exactly?
ChatGPT can work with images in two broad ways.
The first is generating a brand-new image purely from text, for example asking it to "draw a beach at sunset." No photo is involved at all.
The second is using an existing photo as a reference to create a new image, which is the focus of this guide. You upload your own photo and ask ChatGPT to reinterpret the person in it, for example as an anime-style character.
According to OpenAI's own Help Center, you can generate and edit images directly within a conversation, and ChatGPT Images can follow instructions to add text on an image, add details, or make the background transparent.
Common things people try with a reference photo include:
Turning a photo into an anime or illustrated character
Creating a profile picture for social media or a blog
Changing only the background while keeping the character
Changing only the outfit or hairstyle
Adjusting the expression to look more natural
Photos that work best
Your results depend a lot on the photo you start with. Before you begin, it helps to check the following.
Good photo | Photo to avoid |
|---|---|
Face is clearly visible, close to front-facing | Face is turned far to the side or partly hidden |
Taken in bright, even lighting | Backlit or very dark |
The person's face takes up a good portion of the frame | The person is too small to make out facial details |
A solo photo, or one where the subject is obvious | A group photo where it is unclear who should be transformed |
Sharp original resolution showing hair and features clearly | Heavily compressed or blurry photo |
If you want to use a group photo, it helps to describe the person's position explicitly, for example "the second person from the left," so ChatGPT knows exactly who to transform.
How to turn your photo into an anime character
Step 1. Open ChatGPT
On a computer, go to the ChatGPT website in your browser. On a phone, open the ChatGPT app. If you are already signed in, the chat window opens right away.
Step 2. Attach your photo
Tap the plus (+) icon near the message box and choose the option to add photos and files to attach an image from your device. On a computer, you can also drag an image file into the chat box, or paste an image you have copied to your clipboard. This is the method described in OpenAI's own Help Center, though the exact button placement or menu wording may change over time as the interface is updated.
Step 3. Describe the character you want
Once the photo is attached, type a description of the style you want. For example: "Turn the person in this photo into a bright, friendly anime-style character." A short request will still produce something, but writing a more specific prompt, as covered below, gives you a better chance of getting close to what you imagined.
Step 4. Review the generated image
After a short wait, ChatGPT will generate an image. If the first result is not quite right, that is completely normal. Rather than expecting a perfect result on the first try, think of this as the start of a conversation you can keep refining.
Step 5. Ask for changes
If there is something you want to adjust, you can select a specific part of the image with the selection tool and describe the change, or simply describe the change directly in the chat without selecting anything, for example "make the background a little brighter." OpenAI's Help Center confirms both of these editing methods are supported.
How should you write your prompt?
The prompt, meaning the description you give ChatGPT, is the single biggest factor shaping your result. Consider combining the following elements:
Overall mood: bright and friendly, or calm and subdued
Art style: illustration-like or comic-like
Facial features: how closely they should match the original
Expression: smiling or neutral
Hairstyle and outfit
Pose and framing: upper body or full body
Background: simple or a specific setting
Lighting and color palette: warm or cool tones
Aspect ratio: square or portrait
A short request like "make this into an anime" will still be interpreted by ChatGPT, but the result is less predictable. Including a few of the details above generally gets you closer to what you have in mind.
Type of request | Description | Best for |
|---|---|---|
Simple request | Only describes the general mood | Getting a quick first look |
Detailed request | Describes face, outfit, background, expression together | Fine-tuning toward a specific look |
That said, packing too many conditions into a single sentence can cause ChatGPT to miss some of them, so it is often better to start with three or four key details and add more once you see the first result.
Prompt examples you can copy and use
You can use these examples as they are, or adjust them to fit your situation. Rather than naming a specific artist's or studio's signature style, these examples describe color, line quality, and mood directly.
Basic character conversion
Using the facial features and hairstyle of the person in the uploaded photo as reference, turn them into a bright, friendly anime-style illustration. Keep the expression natural and the background clean.
Cute character style
Keep the main facial features of the person in the photo while turning them into a cute, soft illustrated character. Use bright colors and a warm overall mood.
Profile picture
Using the person in the photo as reference, create a character image suitable for a social media profile picture. Frame it from the chest up so the face is clearly visible, and keep the background simple.
Background change
Keep the character's face and outfit exactly as they are, and only change the background to a sunny spring park.
Outfit change
Keep the face and hairstyle as close to the original as possible, and only change the outfit to a clean, casual style.
Expression adjustment
Keep the rest of the character exactly as it is, and only adjust the expression to a more natural, gentle smile.
These are meant as starting points to help you describe what you want clearly, not a guarantee of a specific outcome. Actual results will vary depending on your photo and the state of the feature at the time you use it.
Want to preserve facial likeness better?
If keeping the face close to the original matters to you, it helps to be explicit in your prompt, for example: "Keep the face shape, eyes, and hairstyle as close as possible to the uploaded photo." Even so, there is no guarantee of an identical face, since some deviation from the original is a natural part of translating a photo into an illustrated style.
It is also worth noting that OpenAI's own image prompting guide recommends uploading a reference photo for accuracy when generating images of real people, including yourself, and explicitly confirming that you have permission to use that person's likeness. This principle applies even when the photo is of yourself.
Changing only the outfit, expression, or background
If you only want to change part of an image you already created, you do not need to start over. Simply describe the change relative to the current image.
To recreate everything: ask for a whole new style based on the same photo
To change only one part: describe what should stay the same and what should change, for example "keep everything the same, just change the outfit to a suit"
The key when requesting a partial edit is to clearly state what should not change, such as "only the outfit" or "only the background." This reduces the chance that parts you already liked get altered along with the part you wanted changed.
What to do when the result isn't what you wanted
It is completely normal not to get a perfect result on the first attempt. Try the following:
If the face looks too different: ask to keep the face shape and eyes closer to the original photo
If you dislike the hairstyle: describe the specific length or style you want
If the expression looks off: ask for a more natural, gentle expression
If you only want the outfit changed: state that the face and background should stay the same, then describe the new outfit
If you only want the background changed: state that the character should stay the same, then describe the new background
If it looks too realistic: ask for a stronger illustration or anime look
If it looks too cartoonish: ask for a slightly more natural look
If the background is too busy: ask for a simpler background
If you need a specific aspect ratio: state it directly, such as portrait orientation
The important distinction is between recreating an image from scratch and editing a specific part of the current one. If there is something you already like, explicitly say it should stay the same, so your whole image is not regenerated unnecessarily.
Common beginner mistakes
Mistake | How to fix it |
|---|---|
Writing a request that's too short | Include mood, expression, and background together |
Listing too many conditions at once | Start with three or four priorities, add more after seeing the result |
Using a dark or poorly lit photo | Use a photo taken in good lighting |
Using a group photo without specifying who | Describe the person's position clearly, e.g. "the person on the left" |
Giving up after one attempt | Keep refining through the conversation |
Being vague about what to change | Specify exactly what should change, e.g. "just the outfit" |
Does this work on both computer and phone?
Yes, both the ChatGPT website on a computer and the ChatGPT mobile app support photo uploads and image generation. That said, the exact layout and button placement can differ slightly between devices and app versions, and menu names may change as OpenAI updates the interface. If the icon or menu name described in this guide does not match exactly what you see, look for whatever icon lets you attach a photo in your current version.
What's the difference between free and paid ChatGPT?
According to OpenAI's Help Center, the image generation and editing feature itself is available across all plans, including the free tier. However, how many images you can generate within a given time window differs by plan, and the free tier is generally more limited than paid plans.
One important caveat: OpenAI does not publish a fixed, official number for these limits, and they can change over time or based on usage patterns. For that reason, this guide intentionally avoids stating a specific number of images per day or per hour. If you want to know your current limit, check the plan details directly inside the ChatGPT app or website, or OpenAI's official Help Center. In general, paid plans such as Plus or Pro are described as offering more generous usage than the free plan.
Is it safe to upload my photo? Privacy considerations
Before uploading a photo, a few things are worth checking.
According to OpenAI's privacy policy, on consumer plans (including the free tier and Plus), content you upload, including photos, may be used to help improve OpenAI's models unless you turn this off in your data controls. On Business, Enterprise, and Education plans, this kind of data is not used for training by default. If you would prefer your content not be used this way, check the data control settings in ChatGPT. OpenAI's policy also notes that even with chat history turned off, some data may still be retained for a limited period, up to around 30 days, for safety monitoring and abuse prevention purposes.
Photos of other people deserve extra care. If a photo includes family members, friends, or anyone else, it is best to ask them first and get their agreement before uploading it. OpenAI's own image prompting guidance also recommends confirming you have permission to use someone's likeness before generating an image of a real person.
It is also safer to avoid uploading photos that include:
ID cards, passports, or other identity documents
Bank account numbers, card numbers, or other financial information
Home addresses, license plates, or other identifying details
Extra caution is worth applying to photos of children or family members, since images shared online can spread beyond your control. Think ahead about where and how you plan to share the final image before you upload the original. Finally, if the finished character image is based on a photo that includes other people, respect their likeness when deciding how widely to share it.
Can I use the generated image on my blog or social media?
Under OpenAI's Terms of Use, ownership of the output you generate, including images, is assigned to the user who created it. In practice, this means using a generated character image for personal purposes, such as a blog profile picture or a social media post, generally does not run into restrictions from OpenAI's side.
There are, however, a few important caveats. First, owning the output does not automatically mean the image is uniquely protected by copyright or that no one else could generate something similar from a comparable photo and prompt. Second, if you uploaded someone else's photo or artwork to transform it, that does not automatically resolve any rights issues tied to the original material; you still need permission to use it. Third, recreating a specific well-known character, a distinctive art style from a well-known work, a brand logo, or a public figure's likeness can raise separate copyright or publicity-rights questions. These issues can be legally nuanced, so if you plan to use an image commercially, it is worth being cautious and, if needed, checking with someone knowledgeable in this area or the latest official guidance rather than relying on a blanket assumption either way.
Fun ways to use this
Here are a few lighthearted ideas to try:
A profile picture for KakaoTalk, Instagram, or other social platforms
A character version of your family
A matching character image for couples
A character image with your pet
Turning a travel photo into a stylized character
An image to celebrate a birthday or anniversary
A profile image for your blog's about page
A personal character to use as an avatar
Casual content for social media posts
Frequently Asked Questions
Can I really turn my photo into an anime character using ChatGPT?
Yes. After uploading a photo, you can describe the style you want, and ChatGPT will generate an anime-style image based on that photo. Results vary each time, so it's common to refine the request a few times before getting close to what you imagined.
Do I only need one photo?
Yes, one photo is generally enough to try this. A clear, well-lit photo with the face clearly visible tends to produce more reliable results.
Can I use this feature on the free ChatGPT plan?
Yes, image generation and photo uploads are available on the free plan according to OpenAI's Help Center. However, how many images you can create within a given time period is more limited on the free plan compared to paid plans. Since exact limits can change, it's best to check the current limit directly in the app.
How do I keep the face looking like me?
Explicitly ask ChatGPT to keep the face shape, eyes, and hairstyle close to the uploaded photo. Keep in mind that an illustrated or anime style will naturally look somewhat different from a real photo, even with this request.
Can I change just the outfit or background on an existing character?
Yes. You don't need to start over. Just tell ChatGPT what should stay the same and describe only the part you want changed, such as the outfit or background.
Does this work on a phone too?
Yes, the ChatGPT mobile app supports the same photo upload and image generation features as the website, though the screen layout may look a bit different.
Is it okay to use a photo of someone else?
If it's a friend or family member, ask for their permission before uploading their photo. Using a photo of someone you don't know, or a public figure, without permission is not recommended and could raise likeness or privacy concerns.
Can I post the generated image on my blog or social media?
Generally, personal use is not restricted. However, if the image is based on someone else's photo, or recreates a well-known character or brand, there may be separate rights issues to consider.
Are there privacy concerns when uploading a photo?
On personal ChatGPT plans, uploaded photos may be used to improve the model unless you turn this off in your data control settings. Avoid uploading photos containing ID documents, financial information, or home addresses, and check your account's data settings if you'd prefer your content not be used for training.
Conclusion
Turning a single photo into an anime-style character is easier than it might sound. Start with a simple request, then refine the face, expression, background, and outfit one step at a time as you review each result, and you'll gradually get closer to the image you have in mind. Before uploading any photo, take a moment to think about privacy and the likeness of anyone in it, and when you use the final image, be mindful of copyright and other people's rights. With that in mind, feel free to give it a try and create your own character.