How to Tie a Tie: 5 Easy Methods for Beginners
Learning how to tie a tie is easier than it looks. If you are a beginner, start with the Four-in-Hand knot, one of the simplest and most versatile styles. Once you master it, you can try other popular knots, including the Half Windsor, Full Windsor, Pratt, and Oriental.
This guide explains five easy tie knots, step-by-step instructions, and practical tips to help you achieve a neat, professional look.
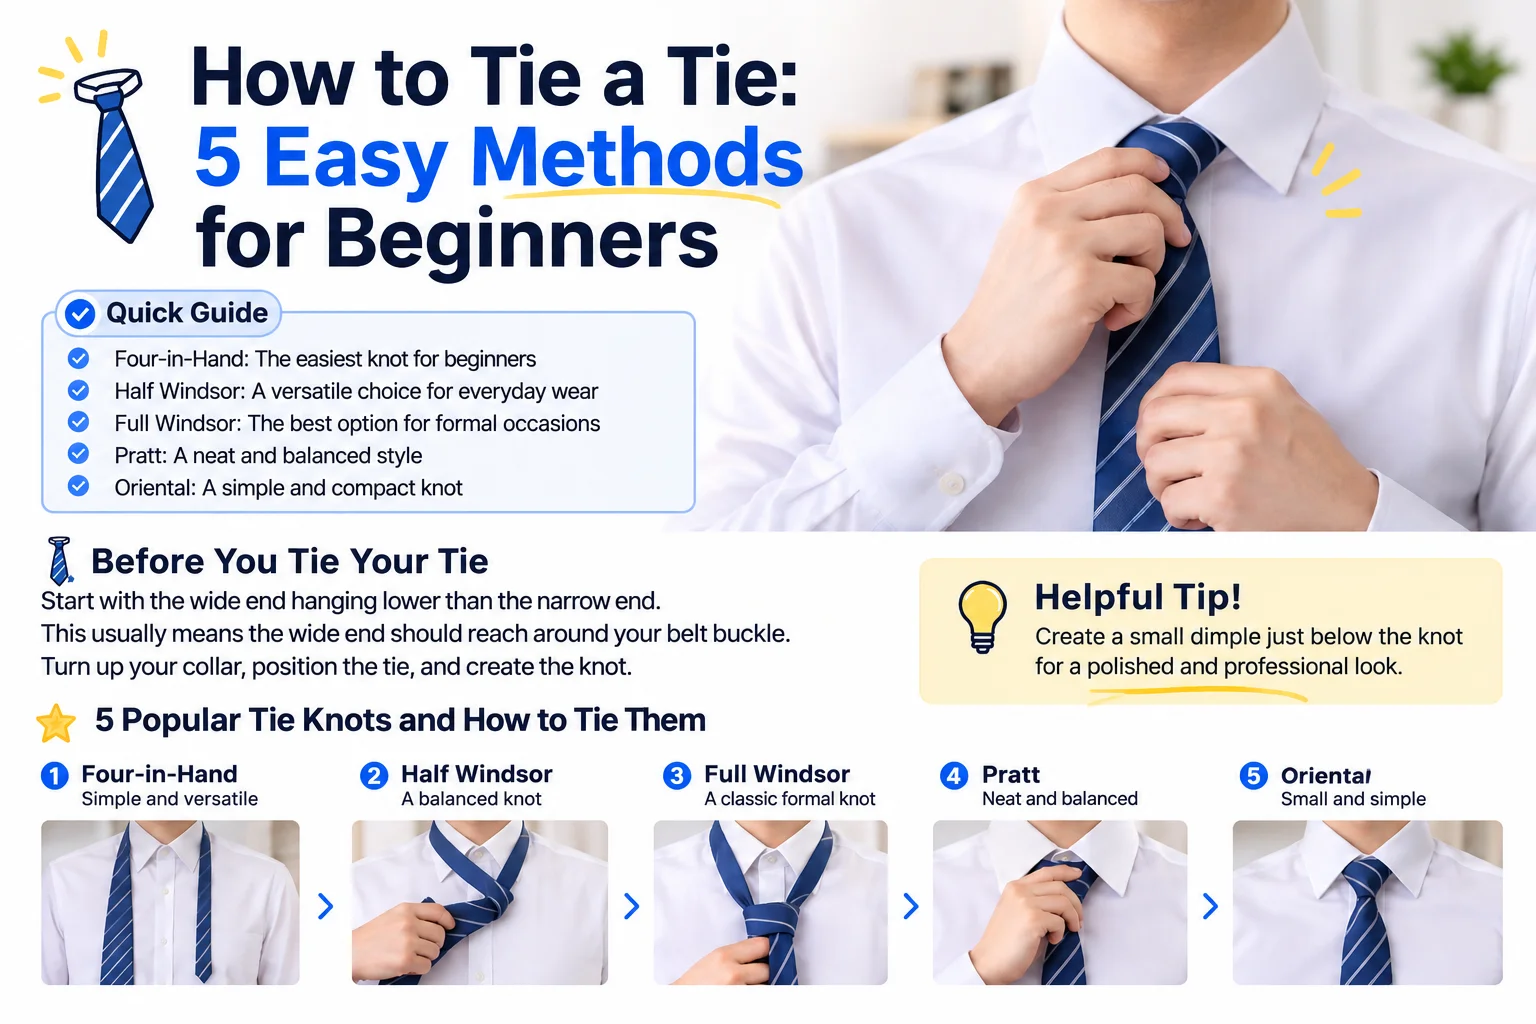
👔 Quick Guide: 5 Ways to Tie a Tie
Easiest for beginners: Four-in-Hand
Best all-purpose style: Half Windsor
Best for formal occasions: Full Windsor
Balanced and neat: Pratt (Shelby)
Simple and compact: Oriental
👔 Before You Tie Your Tie
Start by placing the tie around your neck, with the wide end hanging lower than the narrow end. The exact length depends on your height and tie length, but the wide end should generally reach around your belt buckle when finished.
Turn up your shirt collar, position the tie, and use the wide end to create the knot. Once finished, lower your collar and adjust the knot so it sits comfortably against your neck.
1. Four-in-Hand – The Easiest Tie Knot
The Four-in-Hand is an excellent choice for beginners. It creates a relatively small, slightly asymmetrical knot that works well with everyday business outfits and casual suits.
Step-by-step instructions
Place the wide end over the narrow end.
Wrap the wide end around the narrow end from front to back.
Bring the wide end across the front again.
Pull it upward through the neck loop.
Pass it down through the front loop and gently tighten.
This is a great knot to practice first because it requires relatively few movements.
2. Half Windsor – A Versatile Business Look
The Half Windsor creates a balanced, medium-sized triangular knot. It is suitable for office wear, business meetings, interviews, and everyday formal outfits.
Step-by-step instructions
Cross the wide end over the narrow end.
Bring the wide end behind the narrow end.
Pull it upward through the neck loop.
Bring it down and wrap it across the front.
Pass it upward through the neck loop again, then down through the front loop.
Tighten gently and adjust the knot.
3. Full Windsor – A Classic Formal Knot
The Full Windsor produces a large, symmetrical triangular knot. It is particularly suitable for formal occasions, important business meetings, and shirts with wider collars.
Step-by-step instructions
Cross the wide end over the narrow end.
Bring it through the neck loop and pull it downward.
Move the wide end behind the narrow end and bring it up through the opposite side of the neck loop.
Pull it down and across the front.
Bring it up through the neck loop once more.
Pass it through the front loop and tighten carefully.
Because this knot uses more fabric, make sure the wide end starts sufficiently long.
4. Pratt Knot – Neat and Well-Balanced
The Pratt knot, also known as the Shelby knot, creates a neat, medium-sized triangular shape. Unlike most common methods, you begin with the back of the tie facing outward.
Step-by-step instructions
Place the tie around your neck with its back facing outward.
Cross the wide end underneath the narrow end.
Bring the wide end upward through the neck loop.
Pull it down and wrap it across the front.
Bring it through the neck loop again.
Pass it down through the front loop and tighten.
5. Oriental Knot – Simple and Compact
The Oriental knot is one of the simplest tie knots. It creates a small, compact shape and works particularly well with thicker ties or narrow shirt collars.
Step-by-step instructions
Place the tie around your neck with the front facing outward.
Cross the wide end underneath the narrow end.
Bring the wide end across the front.
Pull it upward through the neck loop.
Pass it down through the front loop and tighten.
✨ 3 Tips for a Perfectly Tied Tie
Get the length right: The wide end should generally reach around your belt buckle.
Create a dimple: Gently pinch the fabric just below the knot to create a small, elegant indentation.
Adjust the knot: Tighten it enough to look neat without making it uncomfortable around your neck.
You do not need to master all five methods at once. Start with the Four-in-Hand, then practice the Half Windsor for everyday business outfits and the Full Windsor for formal occasions.
Your first step: Grab a tie, stand in front of a mirror, and practice the Four-in-Hand knot until the movements feel natural.